Category Archives: Woodworking

Woodwork – Guitar Stand

Inspiration

Clutter. I can’t tolerate it. In my opinion nothing is more detrimental to the creative process than an untidy workspace. As James Brown said “Papa Don’t Take No Mess”.

I’ve been troubled lately that my guitars are all over the house. Some of them are where they belong, in the musical man cave where I spent a lot of free time. Some are in cases, some are in those singular ugly stands from music supply stores. Let’s organize my guitars for easy access, just like my tools!

I have seen a couple of plans, and the one that grabs me the most is a little beyond my current abilities and would be easier with the right tools. As I’m a power hand tool user, I thought that for this effort I should concentrate on using my corner clamps, which was a shortcut I took for my drink stand.

First Step: Assembling the Base

dempseystudio-woodworking-corner-clamps
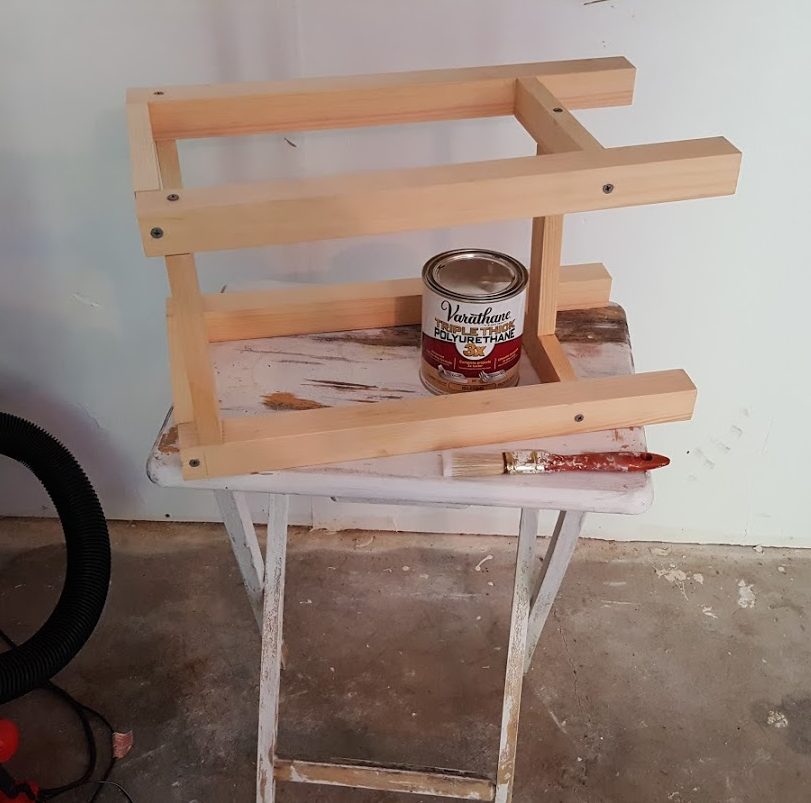
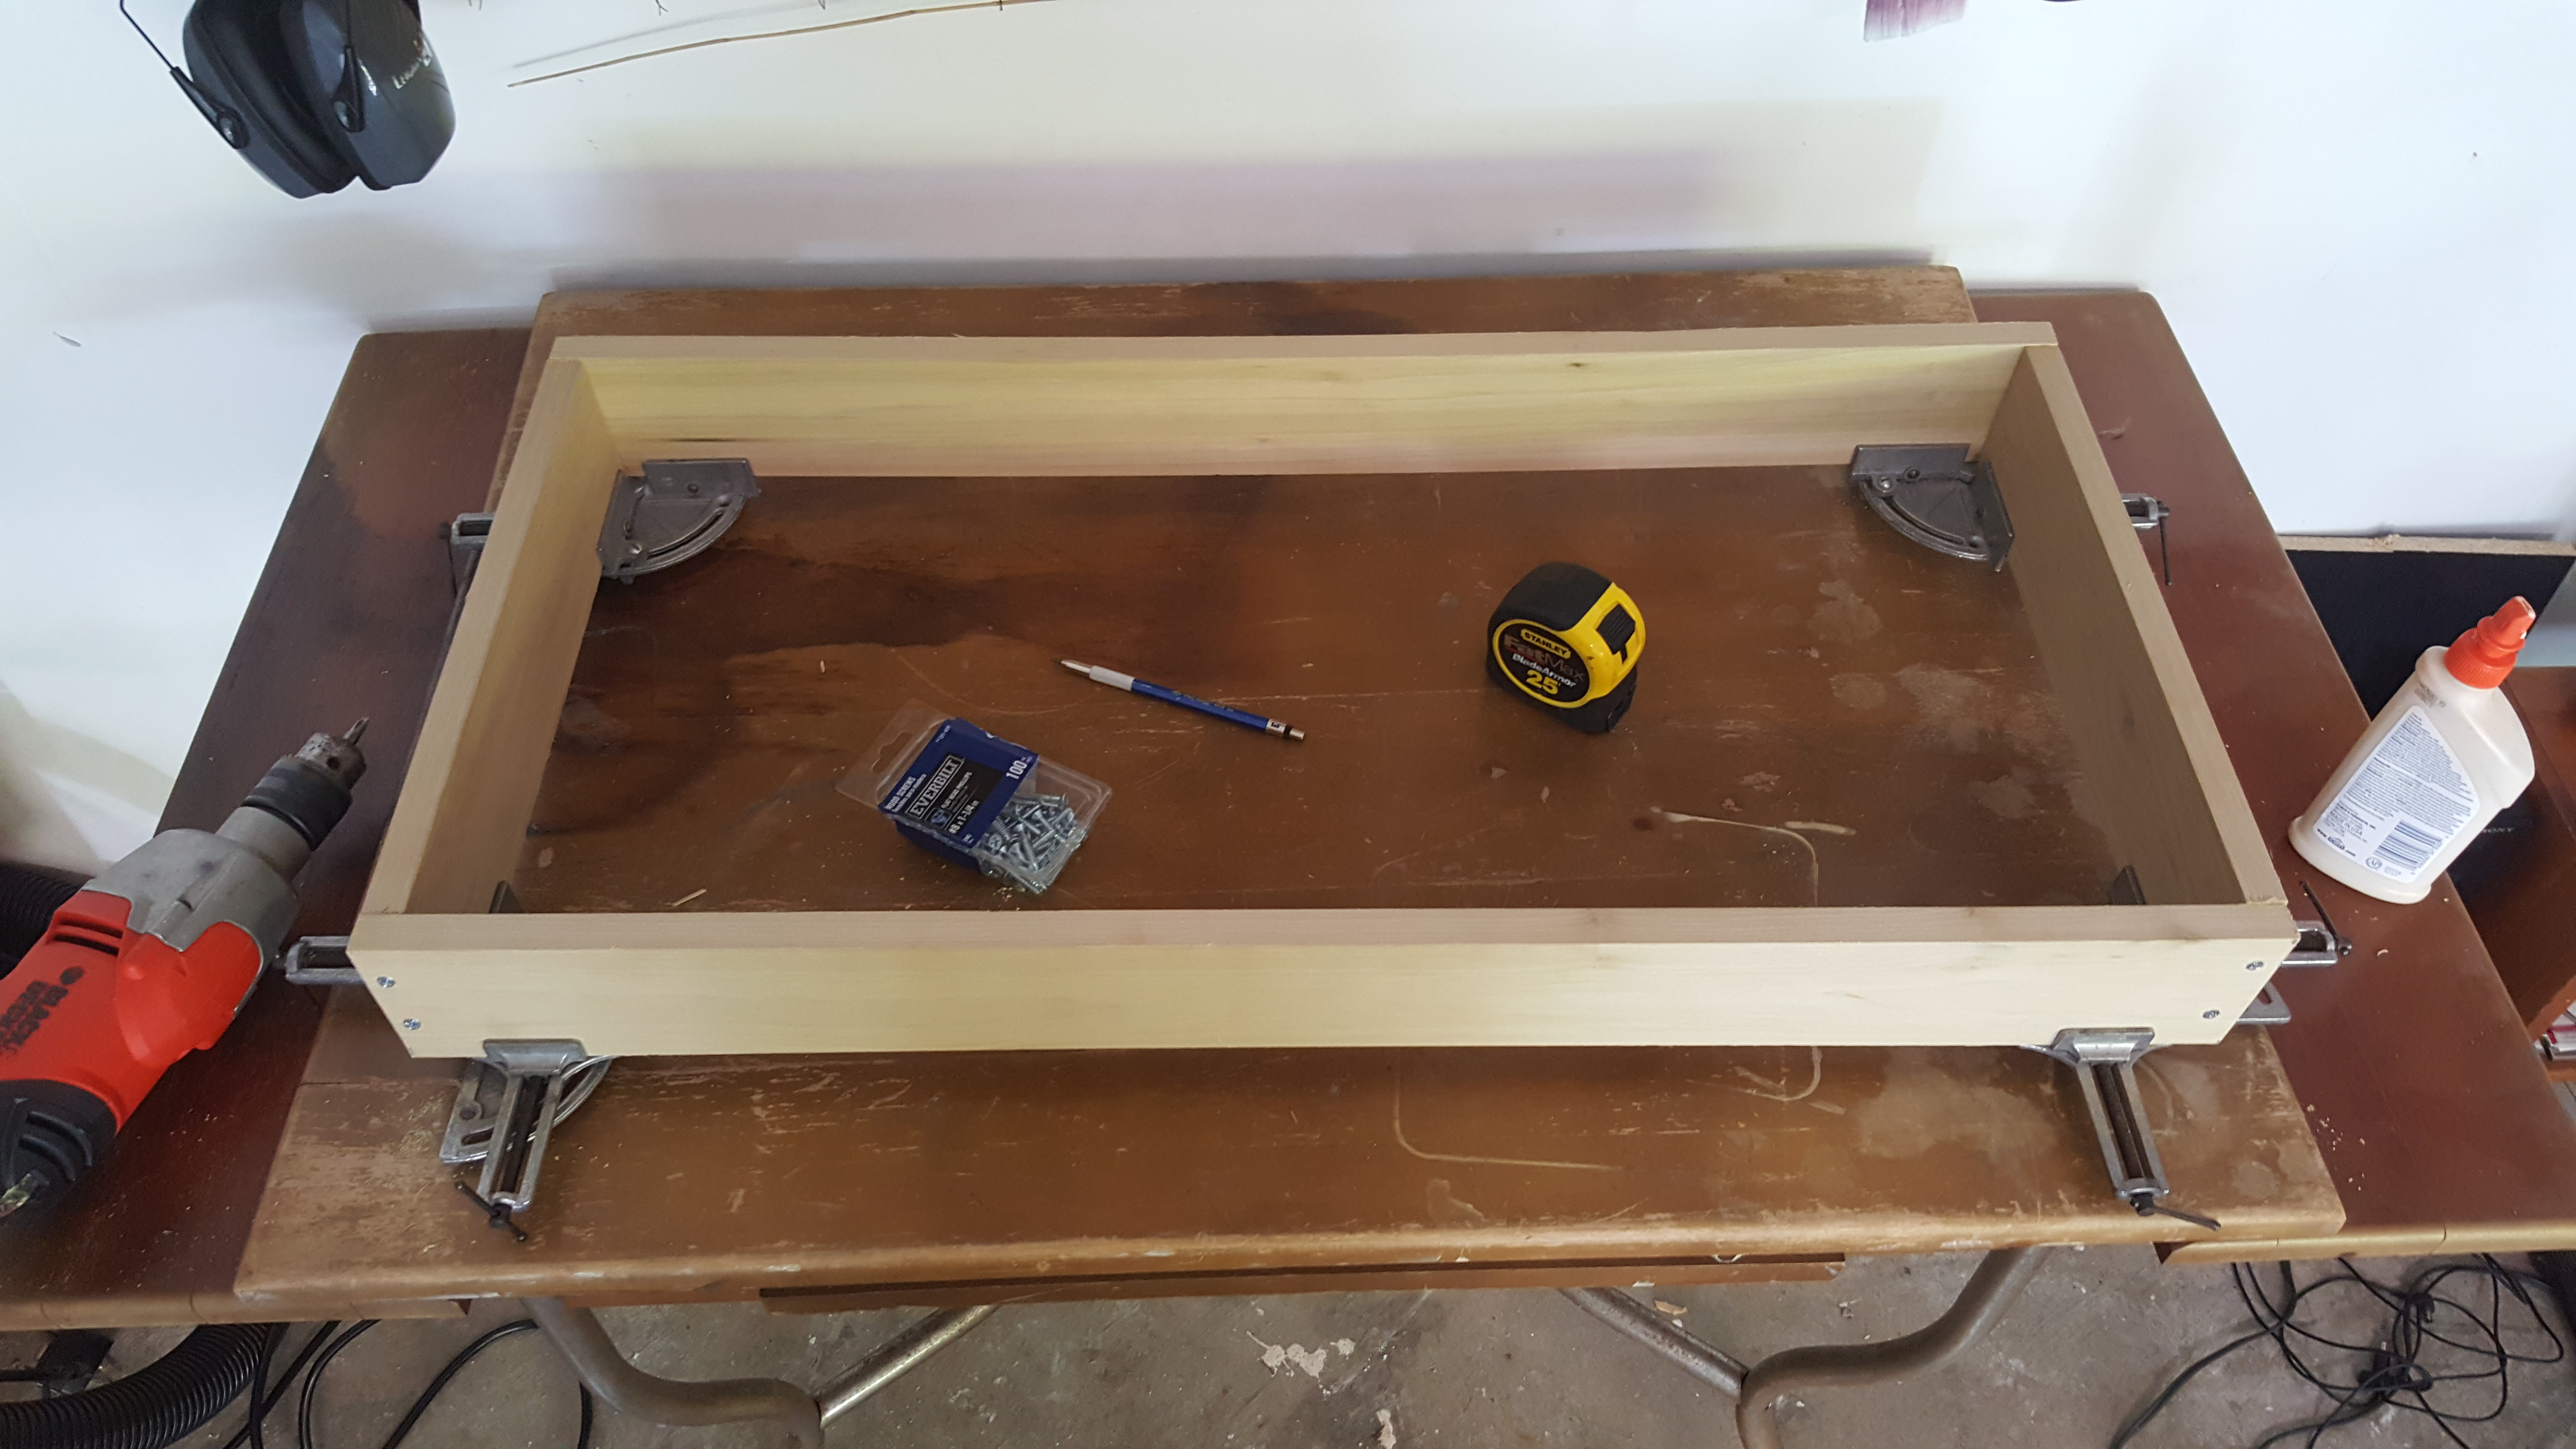
Another portion of this outing is the choice of poplar. While pine would likely be softer, I wanted to venture into a different density of wood, like trying new canvas or paper for visual artists. Here is the assembled base with a closeup of the clamps.

dempseystudio-corner-clamps-closeup
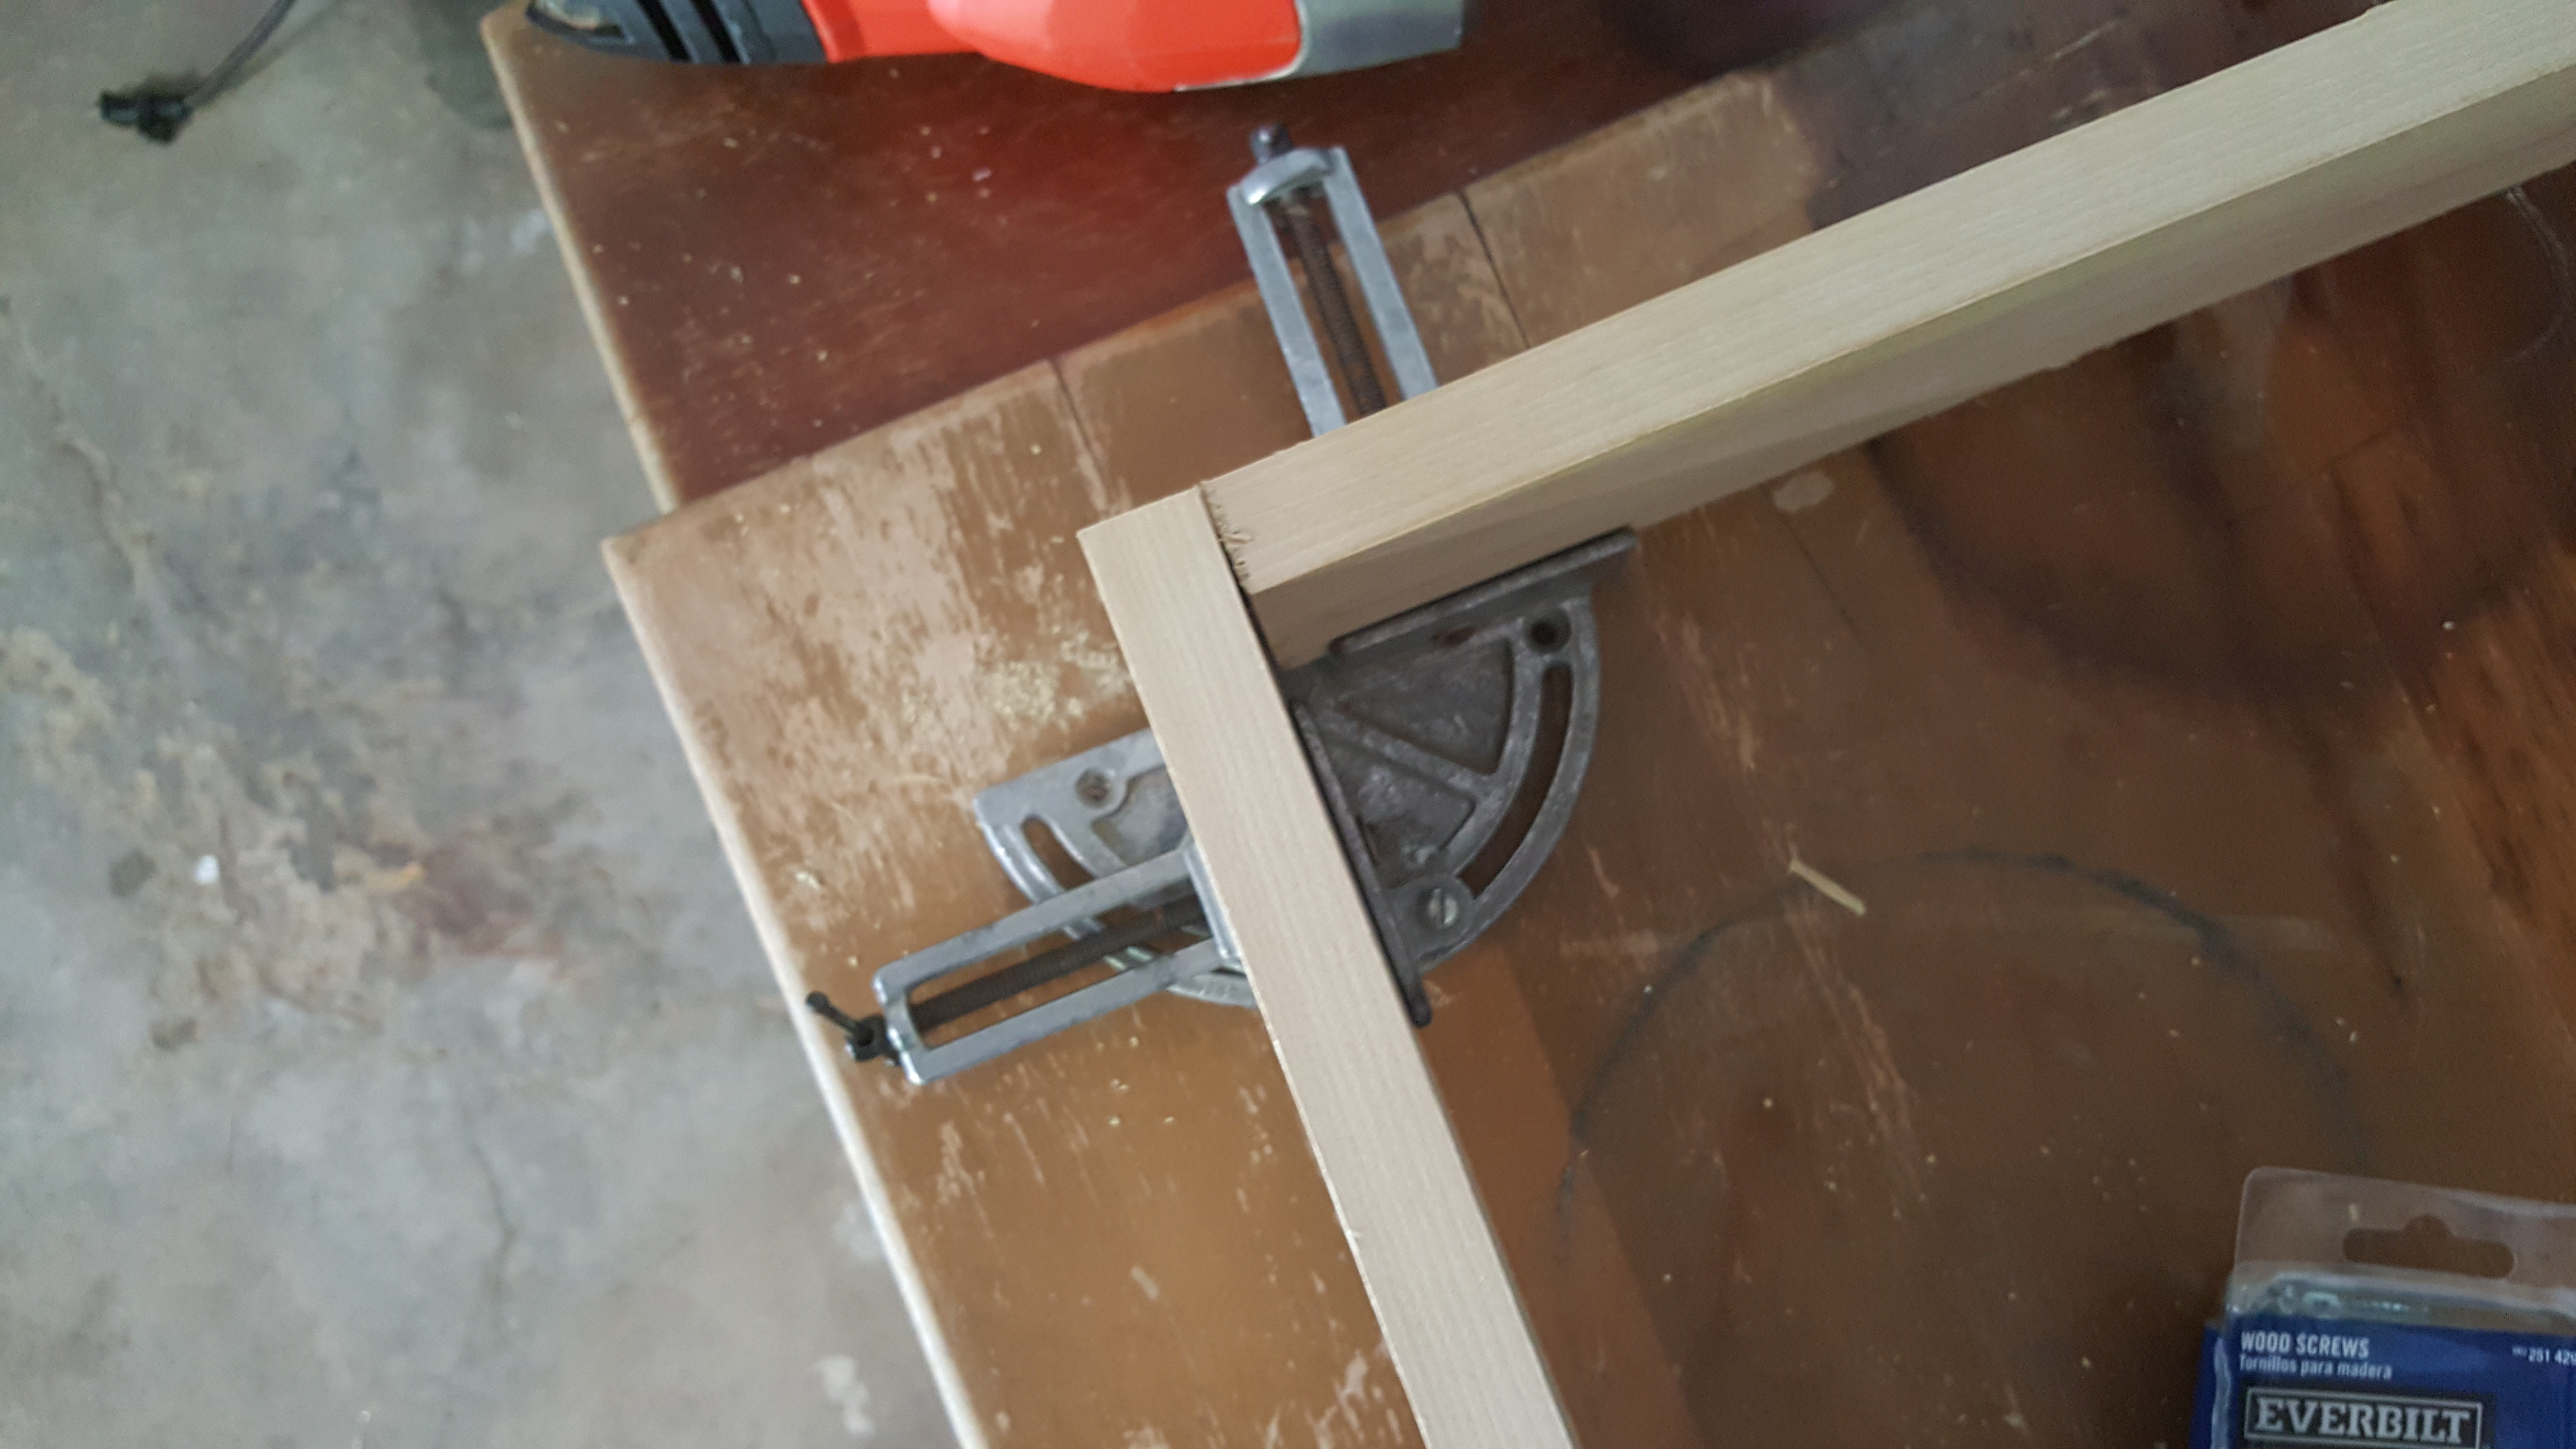
You really need these if you are going to get into woodworking. Mine were a gift from my brother when he saw a stretched canvas that wasn’t “true”, but if lost or stolen I’d buy them again in a heartbeat. Required!

Assembling the Two Parts

Fender Stratocaster, trying out the new home

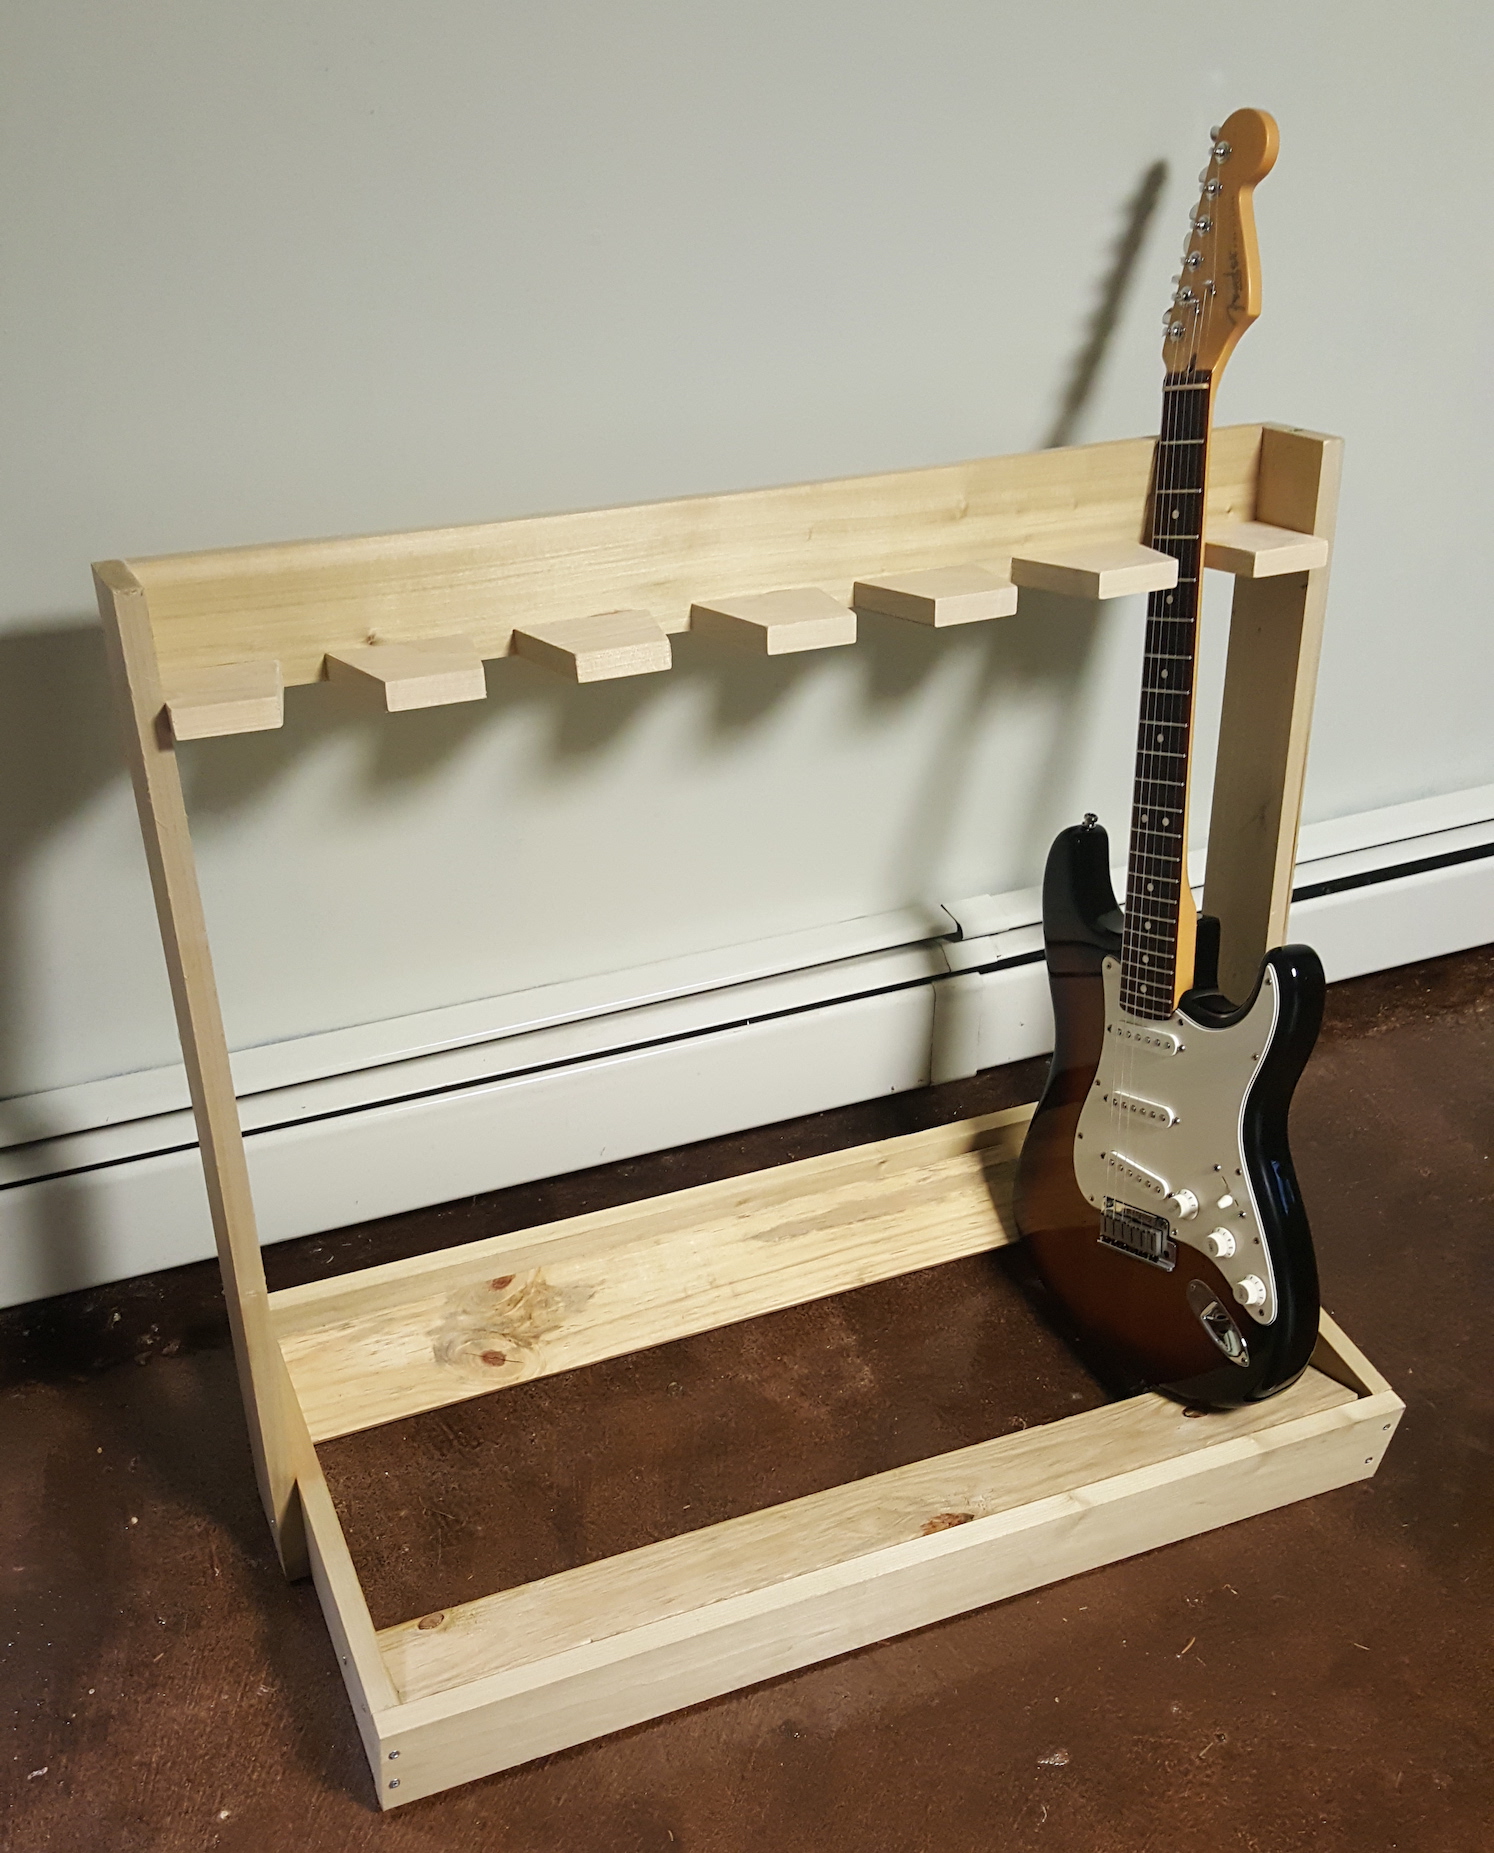
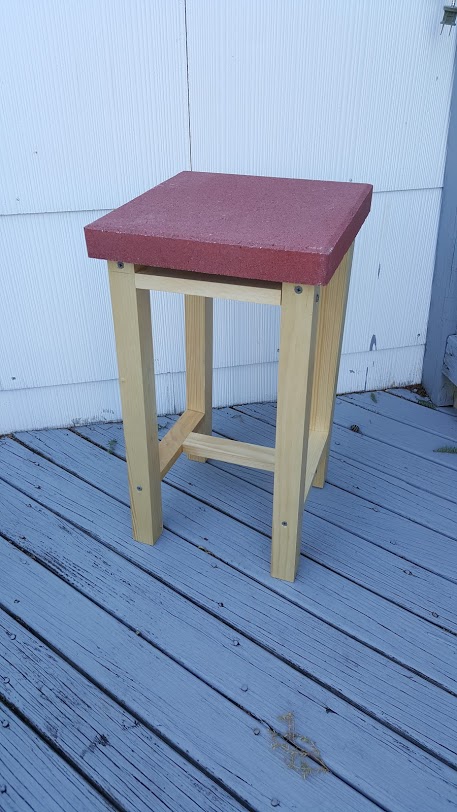
After a few hours of basic carpentry, the stand is functionally done. The next steps are ornamental, some might say optional – but I’ve already taken a few shortcuts – I feel compelled to add the suggested felt fabric in spots (most plans online call for carpet) and likely a quick coat of polyurethane. Not seeing a need to add stain, I want to bring this into use sooner rather than later.

The Fender Strat seems to like its new home pictured, but the first real wrinkle reared its head when my Fender Precision Bass was touching the floor in the cradle. Will have to improvise “feet” or find some ready-made on the shelves. I went with additional felt to cradle the instruments against the epoxy cement floor finish.

Lessons Learned

Not really a new lesson, but a recurring theme: these things take time! I rushed to synchronize the rare arrival of my new addition. There are plenty of rough edges and I could have put another week of finesse into this. Also, perhaps oil-based finish is the way to go. Even though water-based is easier to clean up, I used four coats of polyurethane and it is only a hint of the polish I wanted.

Finale

Tim Dempsey Woodworking - Guitar Stand
The finished piece, just in time for the new arrival: Gibson SG

If you’ve arrived here from Search and are interested in trying this, feel free to ask any questions. The point is that if I could do it, anyone can – but you should have at least the basic power tools. Below is a list of online plans from which I drew inspiration. My goal was to finish it in time for the arrival of the new addition to my arsenal (I hate to say “collection”, that implies I don’t play. I do.)

Here’s a list of inspiration:

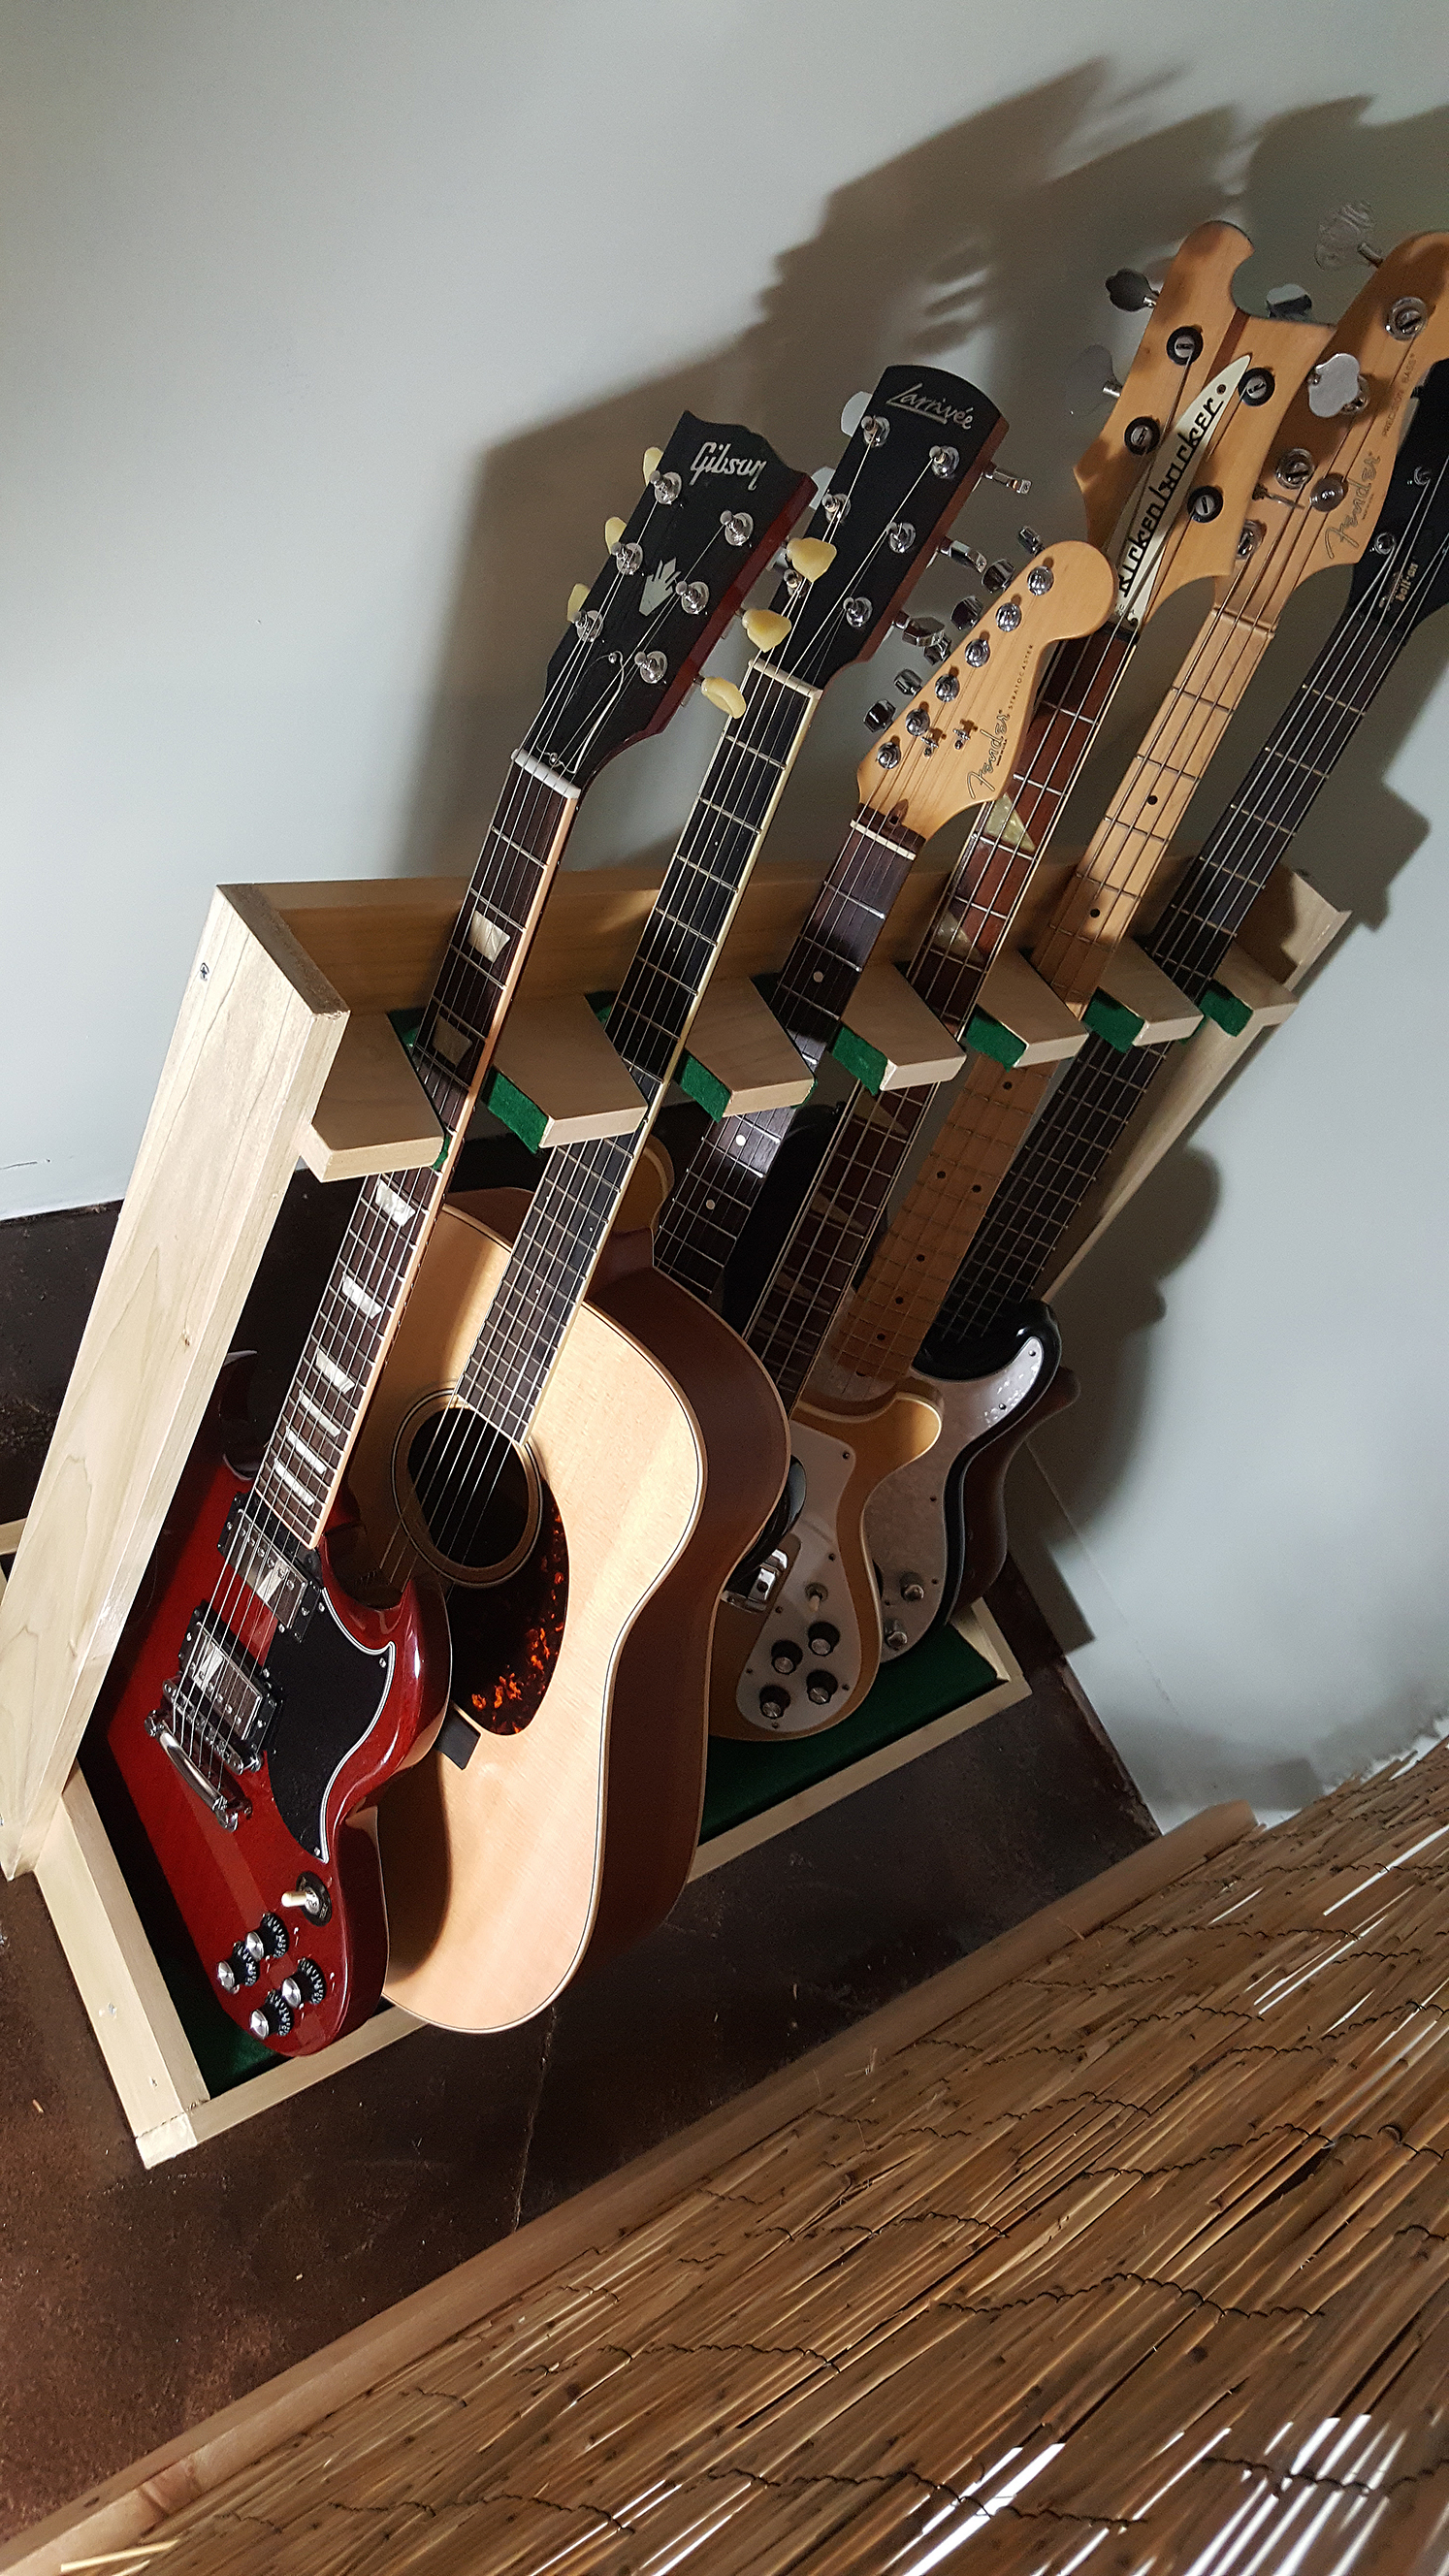
It’s already full, so I will try another when I get another six guitars!

Please leave any comments below.  Thanks for reading.

Woodwork – Drink Stand

I have had aspirations of getting into woodworking for the longest time, and the time is upon me! This is partly owing to nearly forty years of making decorative visual arts and the nagging feeling that I’d like to branch into “creating something from nothing… that is useful.

Inspiration

Here is my first outing. A drink stand, if that’s even a thing. As I was sitting on my balcony (another work-in-progress post for another time), I realized I had nothing to put my drink on. I set out to be “inspired” by some existing ready-to-be-assembled designs and found this one online . It seemed an achievable first outing.

I knew my surface would be a pop of color, probably a reddish-earth terra cotta, which I found at Home Depot for the under $2USD. I didn’t look at the palette for the balcony design (yes I have one. Check it out on Pinterest), but I know neutrals and grays will work with this.

The Drawing Boarddrink-stand-end-table-summer-2016-tim-dempsey-dempseystudio

Maybe because I’m a glutton for punishment, I thought I should mock-up the plans in SketchUp. At the very least I could establish my own measurements. I haven’t looked at that app in years, it is apparently no longer a Google product but that doesn’t change what I want more than anything is at least an hour or two of professional SketchUp training. I digress.

First Cuts

20160611_181842As you see from the picture, these cuts are pretty basic. What I was going for was completing this piece in one day, I have since relaxed my ambitions to the extent that if it takes two days or spans two weekends, it’s better to do it right. As Teddy Roosevelt said “anything worth doing is worth doing well”.

woodwork-assemble-infrastructure-dempseystudio-2016Assembling the Base

I far underestimated the number of 1×1″ pine boards I would need. That’s a lie, I didn’t do the math at all, even with an app, because, well: math. I used a few smaller boards for the inner “I” bracing left over. I used wood screws and will graduate to counter-sink and hide the screw heads as time goes on. I went with an interior polyurethane I had laying around, even though this piece will be outdoors most of the time. So I’ll haul it in when inclement weather returns, or chalk it up to experience.

Finale

woodwork-drink-stand-dempseystudio2016I added the heavy paver stone and adhered it with Gorilla Glue and let it set overnight. Didn’t see a need for clamps due to the weight of the stone top. First time using this product so time will tell if it’s up to the task of gluing stone to wood.  If I had to do it all over again I would have used my corner clamps to make sure the I beam bracing in the bottom was squared-off all around. There truly are no shortcuts to doing a quality job.

While I may have spent 30 or 40 years learning how to make a painting in one day, woodworking is a whole new medium. As with anything, practice makes perfect.

So at last, here it is in place.


And the drink stand in action. That’s right, I spilled wine on it with the inaugural use. I knew I would. The social media debut of my first useful piece :

Thinking of Dad #tributetodad @wine_fix #wineoclock #cabernet @josephcarrwines #winefix #napavalley

A photo posted by Timothy Dempsey (@timothyadempsey) on

Woodwork Art – Fender

A rainy Sunday coincides nicely with a pressing need to create something with my own two hands. This quick little projects marries a few of my interests:

  • Woodworking
  • Music, in particular my love and patronage of the Fender Musical Instruments Corp., one of America’s most brilliant innovators.
  • and finally, painting

Admittedly the woodworking and painting are going to be as basic as possible to conceive and complete this in one day. Another key point is to use all materials at hand. I should have enough of the raw materials, art supplies and tools needed to avoid running out and buying more. Friday night at a rehearsal I consulted with a guitar expert about why the intonation of my Stratocaster is wildly unstable. This lead to ordering parts from Fender direct the next morning. So, a weekend of all things Fender.

Look at Pinterest and Etsy; you’ll see lots of examples of what I’m envisioning here. A few goals:

  1. Keep it simple
    By that I mean distressed, rough edges. Avoid the fussiness that sometimes creeps into my paintings. Okay, always creeps in.
  2. Be faithful to the logo. The lawyers may come after me, but fortunately I can draw free-hand.
  3. Execute what I see in my mind. My vision is red white and blue background to emphasize America. Fender’s best instruments are the American Series, even though in this age of austerity I am started to toy with buying second-hand made in Mexico products. Avoid the urge to Photoshop a mockup. The point is to use my hands to make something from nothing.

Step 1:

Basic Woodworking 101

I wanted the final piece to be about 11″x17″. Modestly-sized. Using a mitre saw, I cut 17″ lengths from spare deck boards in the garage. These are pressure-treated so they are more costly than what I’ll use going forward. There’s a big trend in reclaimed pallet wood, but recall I wanted to stay put and use materials on hand. I recently found myself moving these boards “out of the way”. This means they were “in the way”.

I know I wanted a gap, to allow some imperfection. I didn’t use my corner clamps which were given to me by my brother decades ago when he saw a canvas I stretched wasn’t “true” (he’s a machinist and skilled craftsmen). I’ll transition to that level of finesse when I setup my workshop. they are braced in the back by scrap 1″ x 1″.

Step 2:

Acrylic gesso, which is always laying around was quickly brushed in. Painting directly on the wood surface simply isn’t going to work. I intentionally scrubbed it in

Gesso, tracing logo onto support

quickly to allow wood to peak through. I transferred the logo sketch by simply placing it in the not-yet-dry gesso to score a reference shape. In fact, on a humid day the drying time of gesso is terribly slow, likely the reason I’m blogging. Like waiting for paint to dry. Literally.

Step 3:

Laying down the initial areas of color, it occurred to me to be too reminiscent with the flag of France and not American enough. Nothing against France (we may retire there) but it isn’t relevant to my Fender MIA (Made in America) tribute. It looks like I needed to add stars and stripes.

Step 4:

Something wasn't quite right. A few things, actually...
Something wasn’t quite right. A few things, actually…

After a few hours of work, I thought it was done. Something was not quite right, and I couldn’t put my finger on it so

That's more like it.
That’s more like it.

it was time to take a break and look at Pinterest boards. The problem was that it wasn’t perfect, but it was trying to be… I meant all along for it to look distressed. So, I took a deep breath and trotted out the electric sander to irreversibly mess it up somewhat.

Thanks for reading, if you have any questions please feel free to comment.